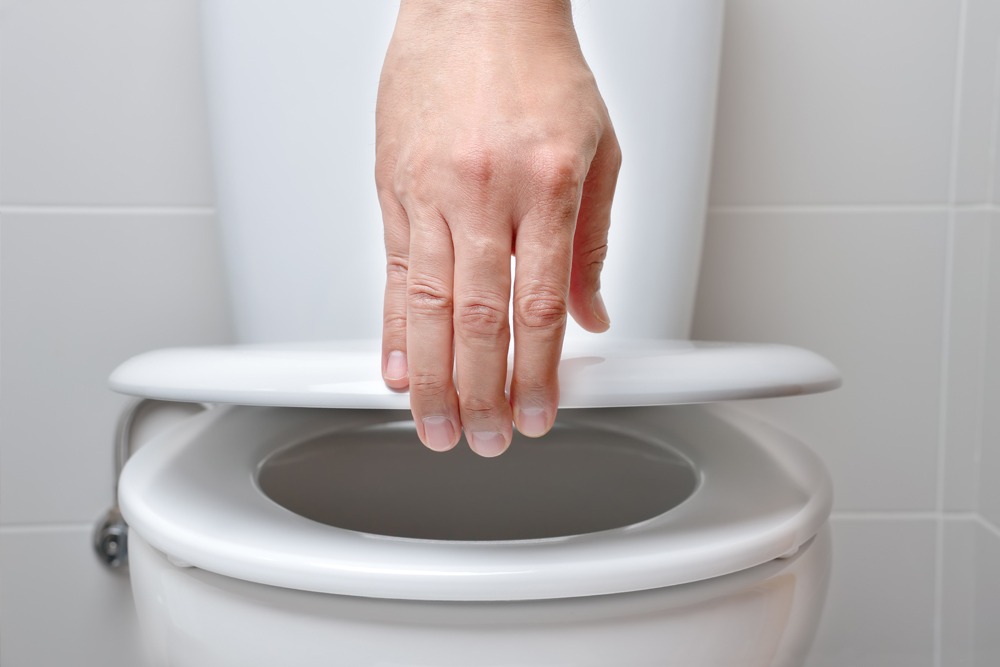
Fitting a new toilet seat is a straight forward DIY project that you will be able to complete at home. It may be that your current toilet seat has become too old, has broken, or you may just like a new style. Read the steps below on how to fit a new toilet seat:
Choosing a new seat
Most toilet seats are a standard size however, we recommend measuring first to ensure that your seat fits correctly.
Take a tape measure and check the distance between the bolt holes above the toilet bowl. Once you have this measurement, simply ensure that this distance is the same between the bolts on your new toilet seat.
Removing the old seat
Step 1: remove the nuts that are holding the toilet seat bolts in place. These will be located underneath the toilet seat fitting. You will likely need an adjustable wrench for this task.
Step 2: lift the bolts out of the bowl, taking the toilet seat with it. There is no need to keep the bolts or nuts, your new toilet seat will come with fittings. Dispose of the old seat.
Fitting the new seat
Step 1: remove the new seat and fastenings from the packaging. The hinges on the seat will be pre-attached and may have the nuts loosely screwed to them. Remove these if so.
Step 2: drop the bolts into place through the holes at the back of the toilet bowl. Ensure the toilet seat covers the bowl completely, there should not be a gap around the edge and it should not overhang.
Step 3: thread the nuts onto the bolts located underneath the edge of the side of the toilet bowl. Turn the nuts onto the bolts clockwise until it is tight by hand, then use an adjustable wrench to tighten the nuts and secure the seat further.


